Surveys
What It's All About
HMT's Survey tool gives you the option to learn more about your ticket-buyers, which is particularly useful if you want to do an event registration. Surveys can be added to any event you would like additional data on.
After you attach a survey to an event, online ticket buyers will be prompted to answer as many questions as you create. You will have an array of customizable fields, buttons, and drop-down menus to choose from.
How it Works:
Creating a Survey
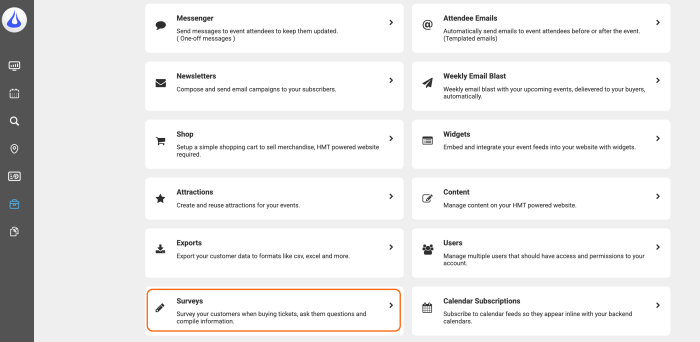
Access Surveys in Spark by going to Tools then scrolling down to Surveys.
From here, you will be prompted to create and name your survey, as well as add fields based on the information you are looking to collect. Fields can be added, removed, and duplicated.
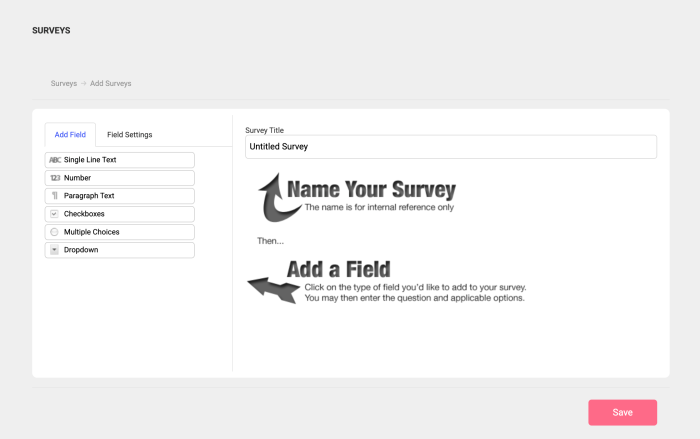
Click the Field Settings tab to edit the details your fields. Make as many changes as you'd like, as often as you'd like. Click Save, and you're done.

Attaching the Survey to an Event or Ticket
Surveys can be attached to an entire purchase, so one response at checkout, or you can ask the buyer to fill out one survey per ticket in their order.
Entire Events
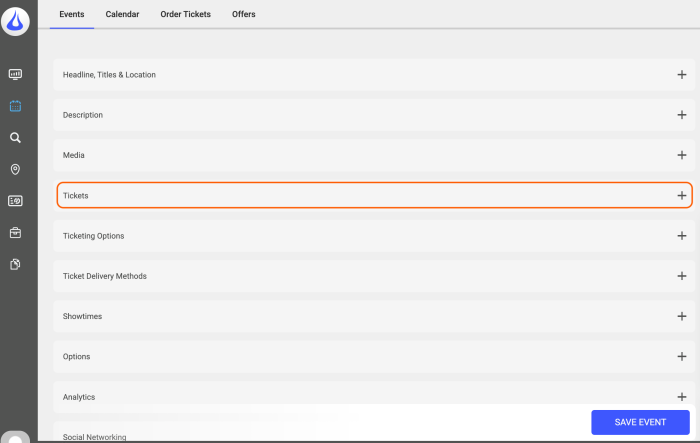
To add a survey to your event, you will navigate to the Events tab and scroll down to the Survey section.
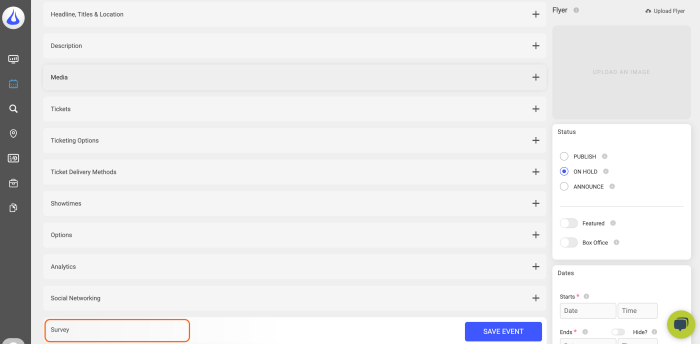
Once there, a drop-down menu will prompt you to select your created survey. If you need to make changes, the Edit Survey button will link you back to the Surveys tool.
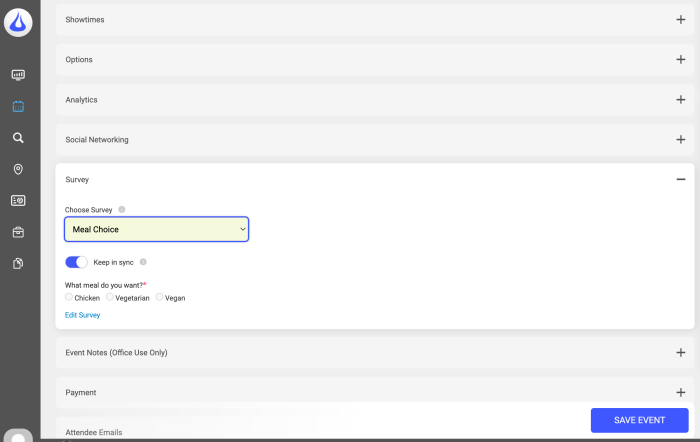
*Check the "Keep in Sync" box to make sure the checkout page for that event reflects any changes you make to the survey. If the survey is perfect for its attached event, but you want to make changes to it for a different event, just un-check that sync box.
Individual Tickets
For when you need to collect survey answers for every attendee (i.e. meal preferences for each ticket holder).
From the Events tab, you will scroll to the Tickets section.
From there, select the Options tab and click the Survey box. You will again be prompted with a dropdown where you can select your survey.
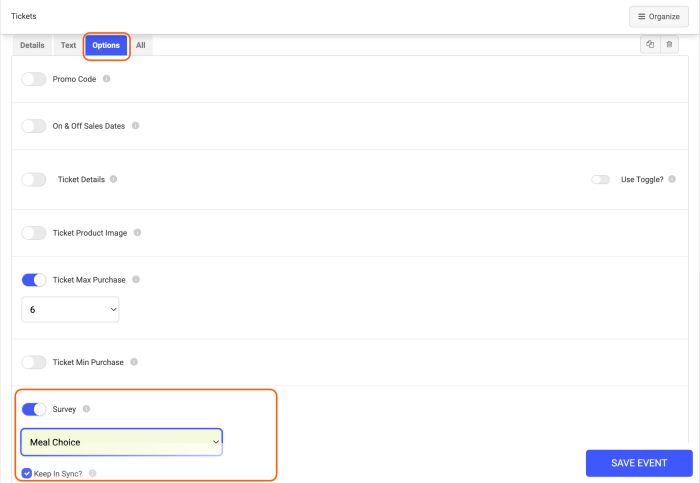
As mentioned before, you will have the option to keep the survey synched with your changes with the Keep in Sync button.
Linking the Survey to Multiple Events
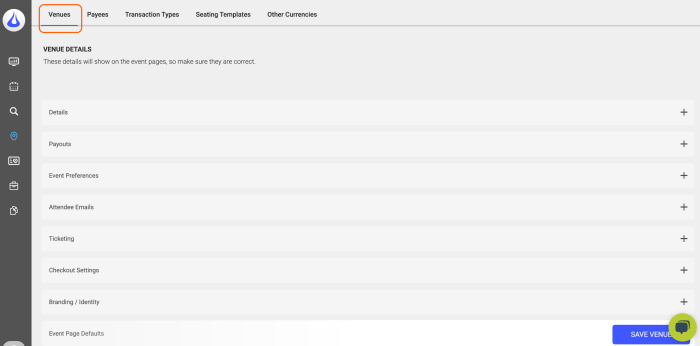
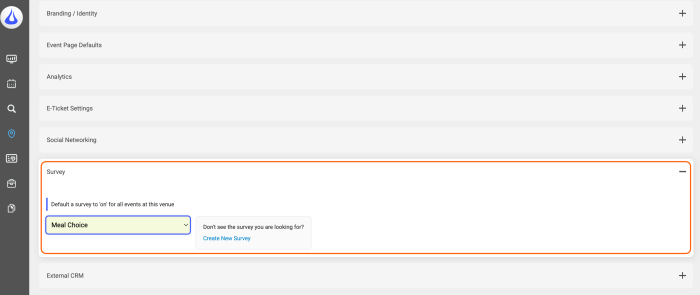
Add your survey to your events by editing under the Venue tab and scrolling down to Survey. Here, you will be prompted with a dropdown where you can select your desired survey, adding it to every event you create for that venue.
Viewing your Captured Data
Simple Stats
To see quick graphics of survey responses, navigate to the Surveys tab, scroll to your desired survey, and select the Stats button from the far right drop down menu.
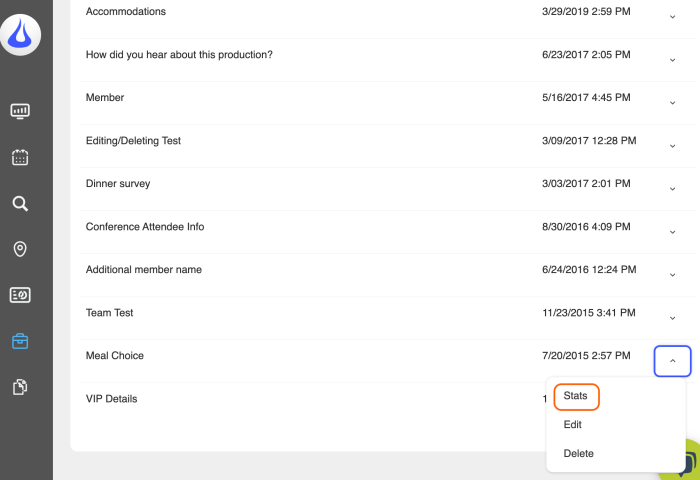
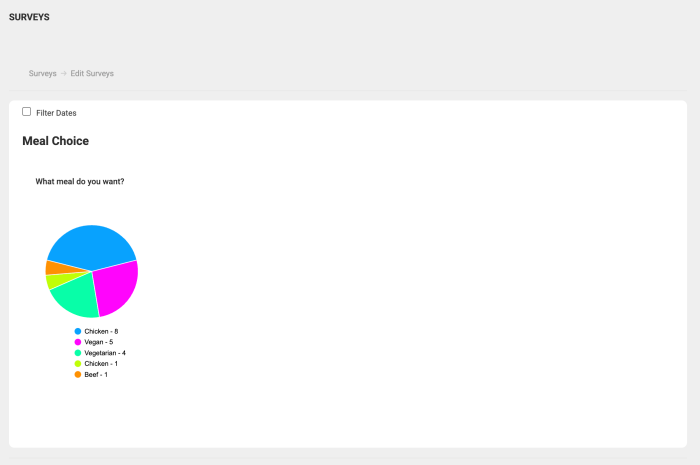
This page will display pie charts of survey responses to quantitative questions only, i.e. multiple choice questions. This is good for quick assessments on how things are going for all events that use this survey. Per-event survey pie charts can also be found in your event report.
Using the Attendees List
Navigate to your event and select Attendee List.
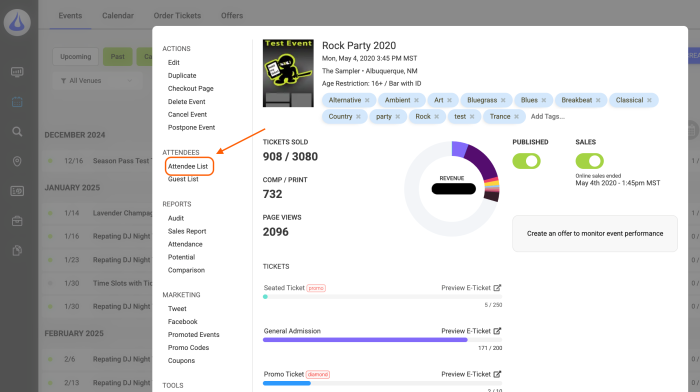
This will direct you to a full list of tickets sold. Select on your desired attendee and click the Order Details hyperlink.
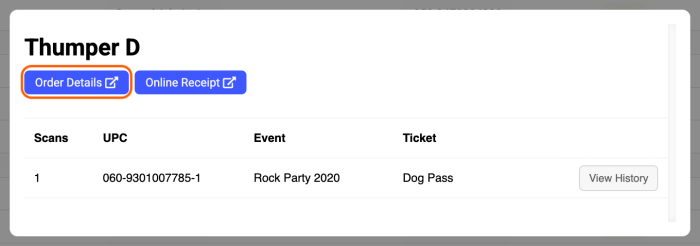
Once there, scroll down to Survey Ticket Details to see the ticket holders survey response.
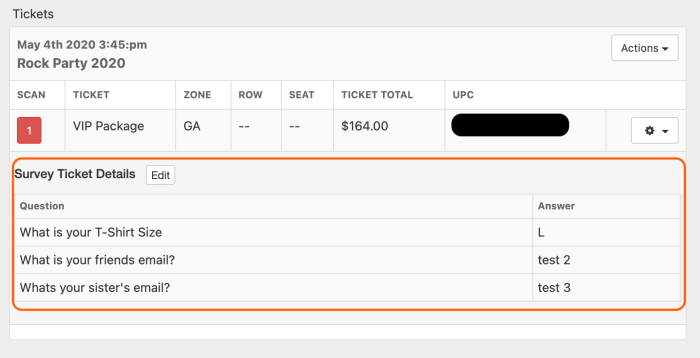
If you click the Edit button, it will direct you to a page where you can edit the ticket holder's survey response if needed.
Exporting Survey Information
The customer export downloads all purchase data, including survey answers, which becomes useful as a master sheet when planning your event.
To access this information, navigate to the Tools tab and select Exports.
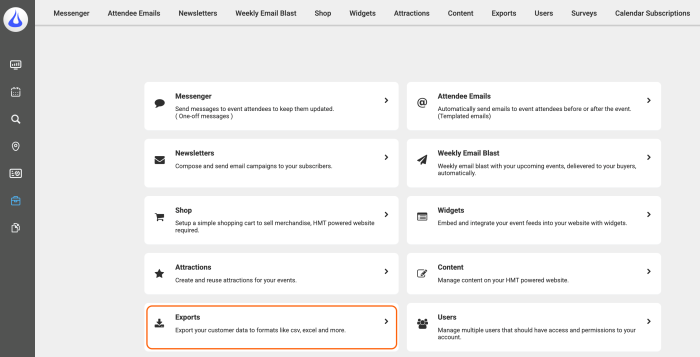
This will take you to a page where you can export your desired information. You have the option to filter by venue, event, and date, as well as add any specific tags.
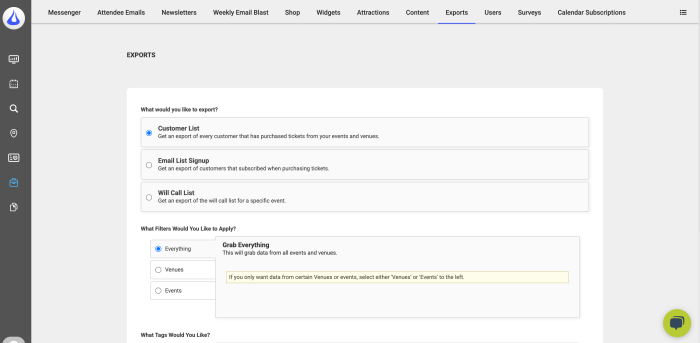
Once you have narrowed your search, scroll to the bottom of the page. Here, you can choose your desired filetype (HTML, Excel, Tab Separated, Comma Separated) and finish your download.